I was lucky enough to meet in the city with an old friend and take in the Renegade Craft Fair in Brooklyn last weekend. What a hoot!! We had a great time (Thanks LJ!)
Of course, we saw plenty of the requisite trendy/artsy-fartsy/hipster stuff: octopuses, handlebar mustaches and bird silhouettes....lots and lots of bird silhouettes. (By the way, if you haven't seen the "Put a Bird On It" clip from Portlandia
here, you HAVE to check it out.)
But there were a few standouts that we checked out, in fabric crafts and illustration in particular. I was really struck/amused by the following artist booths:
Ceramic Artists:
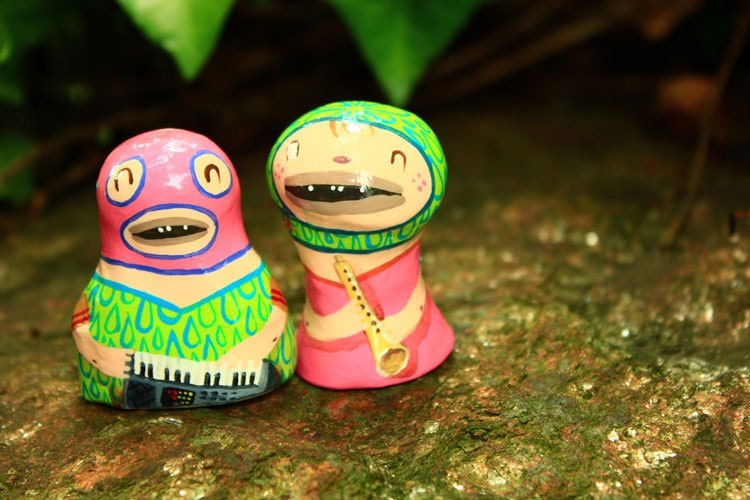
Andrew Zangerle
Andrew Zangerle (
www.themapleridge.etsy.com) - This guy had a great sense of humor. While his little figurines were not functional, they definitely made me smile.
Abby Berkson Ceramics
Abby Berkson Ceramics (
www.abbyberkson.com) - Yes, there were some birds, but her wares were simple, understated and just sweet.
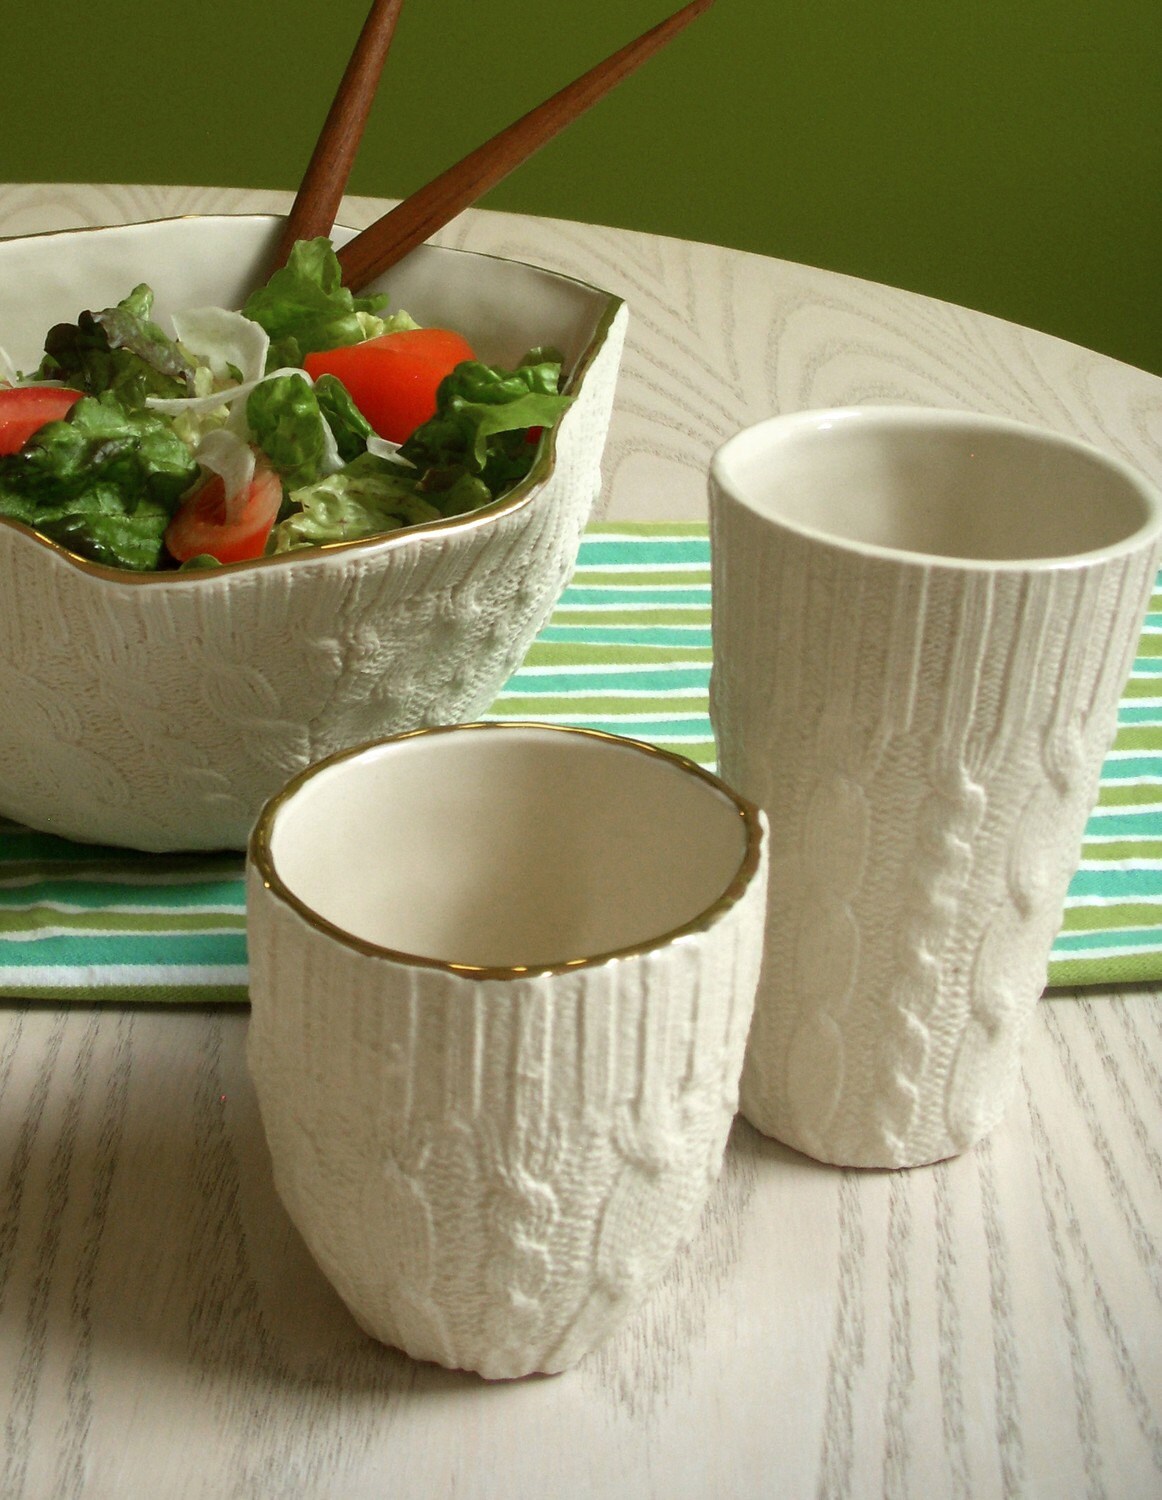
Reshape Studio
Reshape Studio (
www.reshapestudio.etsy.com) - I liked the juxtaposition of many of the objects that this studio created. I especially liked their line of ceramics made to look like cable sweaters.
Jewelry:
Moira K. Lime
Moira K. Lime Jewelry (
www.moiraklime.com) - Moira's pieces were delicate, well made and so feminine. There was so much I wanted to take home with me!
Hoi-An Tang (
www.mehoi.com) - Again, a great sense of humor! I loved her pieces, like the ham pendants and rice cooker earrings.
Corky Saint Clair
Corky Saint Clair (
www.corkysaintclair.com) - I especially liked her wood necklace charms and the "Super Luxe" charms in steel. I think her work is at its best when she explores the details in these larger-sized charms.
Apparel:
Wooly Baby Slippers
Wooly Baby Slippers (
www.wooly-baby.com) - Just looking at these slippers made my feet sweat. All joking aside, these booties looked like some of the coziest footwear around. Made from recycled sweaters, you could see that the workmanship was excellent, and the design was beautiful.
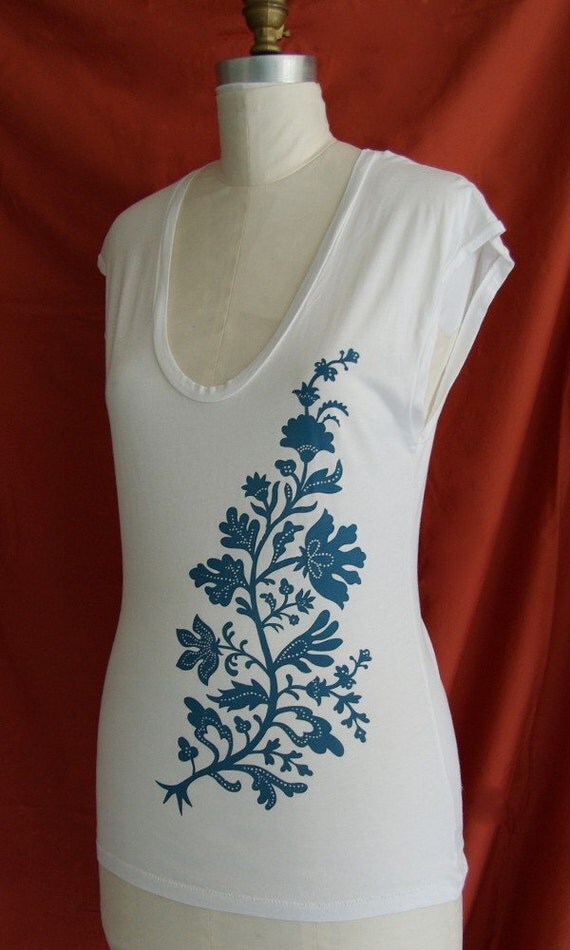
Eliza Jane Curtis / Morris Essex
Eliza Jane Curtis / Morris Essex - (
www.morrisessex.com) - The apparel and papergoods from Morris Essex used bold colors and gorgeous stock, and their quality stood out in a sea of average t-shirts and generic cards.
Sharp Shirter
Sharp Shirter (
www.sharpshirter.com) - by far the most hilarious and wicked t-shirts and prints at the fair. And I was very happy to see a booth with a fantastic company name!
Illustration:
Jaime Zollars
Jaime Zollars (
www.jaimezollars.com) - I love coming across artists who are super-comfortable in their creative skin, and Jaime's work displayed this. The work was kid-friendly, though a little moody at times.
Brainstorm Print and Design ((
www.wearebrainstorm.com) - I loved their state map prints! Great use of color, and the photography on their site is excellent.
Michele Rosenthal (
www.michelerosenthal.com) - Loved the flip calendar, shown above. Many items were very kid-friendly.
Kristiana Pärn
Kristiana Pärn (
www.kristianaparn.com) - Absolutely gorgeous. I loved the prints directly onto wood, allowing the wood grain to show through.
Other:
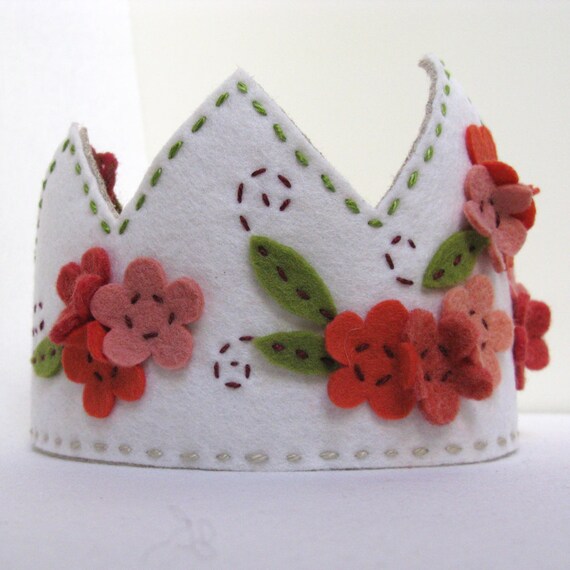
Felt Forest
Felt Forest (
www.feltforest.etsy.com) - Beautiful and whimsical goods made from felt. I particularly loved the little crowns with felt hydrangeas sewn to them.
Horrible Adorables
Horrible Adorables (
www.jordan-elise.com) - I think these were my favorite pieces in the show, and made the trek out worth it! The pieces was completely different from the other work at the show, based on a traditional idea, but created in a completely different, craft-centric way, with a little twist.
Are there any other fairs that you look forward to throughout the year? Any good ones in the Tri-state area that I need to check out? Leave a comment and let me know!!